 |
| The Restoration of My Maserati Ghibli 1a serie by Cyril Kothe in France |
THE PLAN! 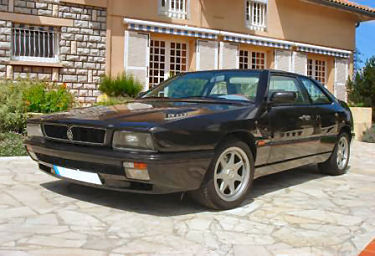  INTRODUCTION After agreeing a deal with the salesman, I went to collect it from the Garage du Trident. The previous owner was parting with it as he was no longer prepared to meet the high cost of repairs. Various problems had annoyed him, in particular a recurring warm start problem and traces of bad repairs to the inner front wing panels; but that will be covered later. My return home started badly, as I broke down (nothing malicious) on the main road. During the holdup, it stalled and was almost impossible to get going again (that famous warm start problem !). In short, despite everything, the journey home went ahead without any major problems. But my first impressions with the car were far from reassuring. Braking was little more than hit and miss, as the discs were completely warped. Acceleration was a long way .... a long long way .... from pressing me back into my seat ! When making comparisons (certainly French) with the Turbo R21 or the R5 Turbo GT which deliver a trifling 175 and 120 bhp respectively, one is wary of a 306 bhp missile ! In short .... again in short .... it had a serious lack of power! I also found the clutch and gearbox controls so hard that it made my first experiences quite unpleasant. THE RESTORATION STARTS !!!!!!! Today, Sunday, I take up courage in both hands, and instead of spending the day on the sofa watching "Walker Texas Ranger", I get off my backside and head for the barn to put my little Ghibli to rights. My first sight, after having removed the seats: was 2 inches of water in the cockpit. 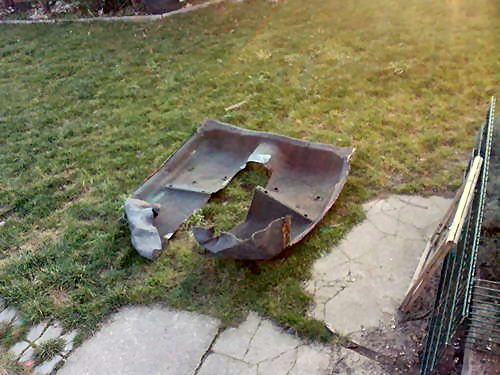 The soaked carpets felt like a dead cow .... the sound proofing was in a similar condition .... Everywhere there were traces of slight superfical rust on the floorpan but especially .... signs of repair. Finally repair ! 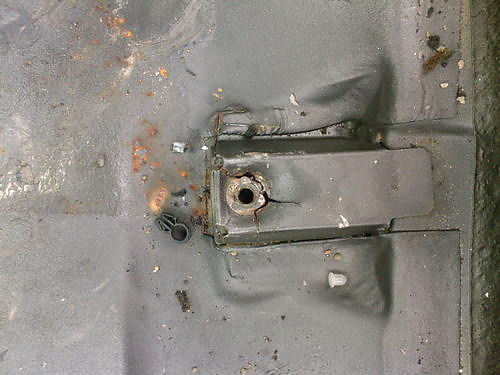 The repair of a breakage....... The front seat mounting bracket was broken, and as it did not hold "they" had placed two large washers between the mount and rail and so !!! Viola !!! A load of garbage !!! Whereas after two attempts with the drill, it's free ! 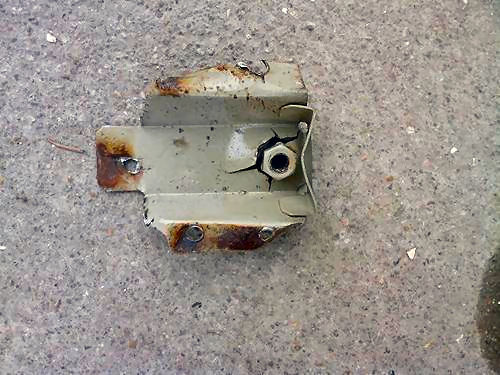 While it's stripped, I take the opportunity of spraying the car with water, and at the same time find out how and where the water is entering. 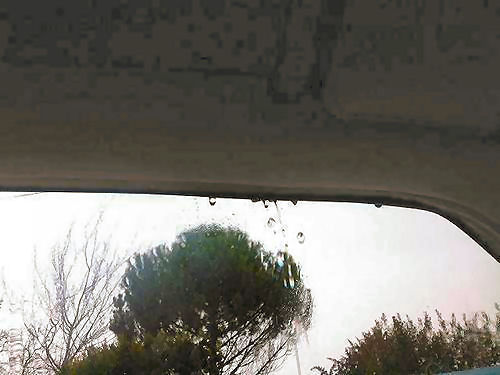 After a little less than a minute, water starts to enter via the driver's door, and after a couple of minutes ... 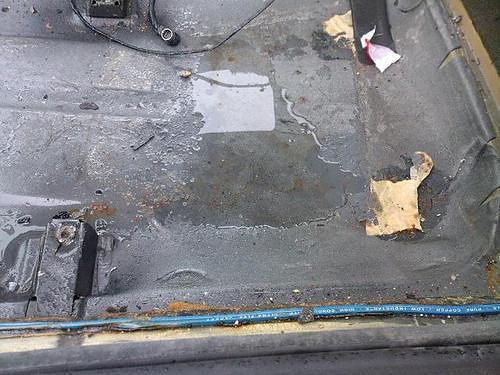 It just gets better and better. And so today, I'm going to attack the mechanics !!! 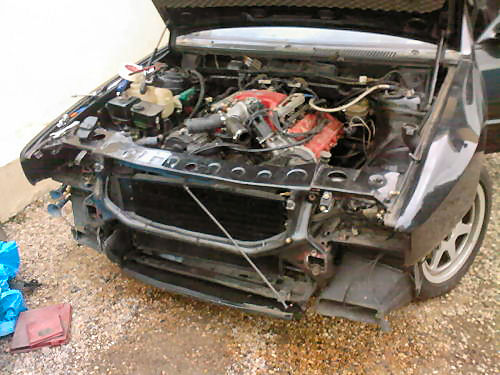 After a few hours ... 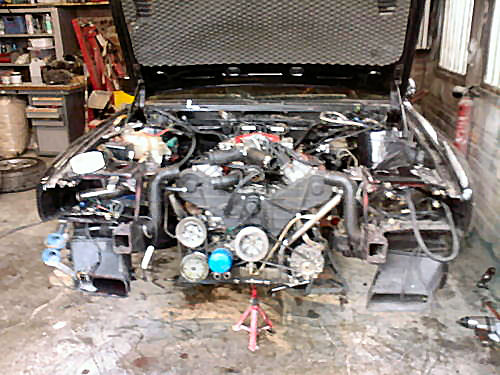 there are still a few more surprises each one better than the other. The ignition leads patched up with "Norauto" terminals, connections hoses cut into 2 even 3 pieces. Again the work carried out by those "b*******" (I think we can call them that) is something to behold ! In short, one is going to cry, but that won't help me to get on with it. Cheer up !!! Let's go. 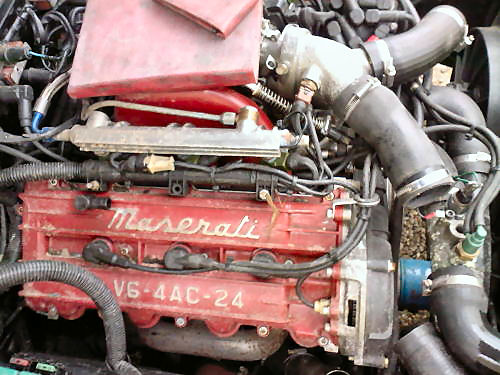 It breaks my heart to see it in that state ... 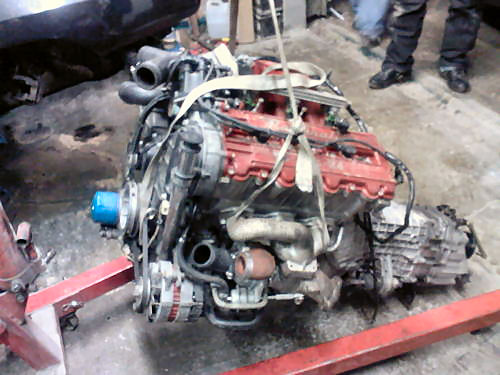 But it's for the best (that's what I have to keep saying to myself). It's its destiny, to be heading for my brother's garage for a rejuvenating experience. The programme; to repair the wiring loom, adjust the timing belt (as recommended by Maserati), check the compression (after adjusting the timing of course), control the values of the sensors and replace if necessary, treat the surfaces of the oxidised parts and re-paint the cylinder head rocker covers. They are used to this kind of treatment down there ... As for me, I will be able to tackle the LARGE building site, strictly speaking, i.e. the front "longerons". 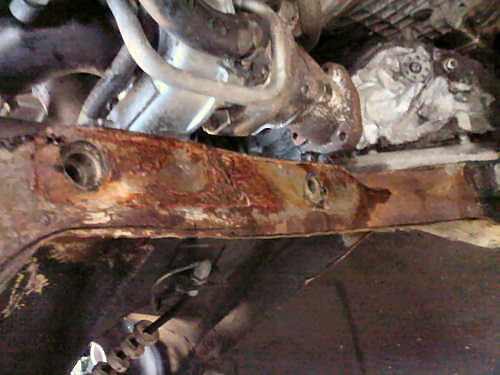 Here is the work of 'Sagouine' ... Whereas it's not too complicated (we will see this later) to replace the sheet metal from the front box section in its entirety, it will be 100 times neater and more especially, 1000 times more solid ... Finally ... One last small job. 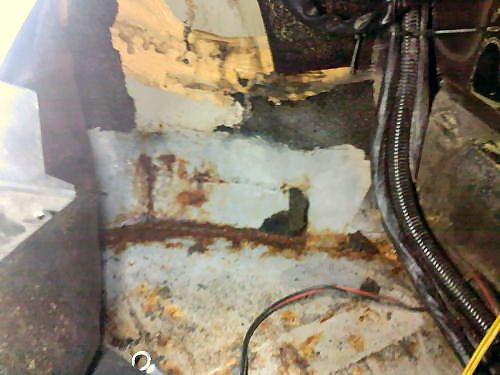 A nice part of a 'pig job' comes elegantly off the floorpan. To contemplate this quality of work ... To meditate on it! |
||
THE ENGINE 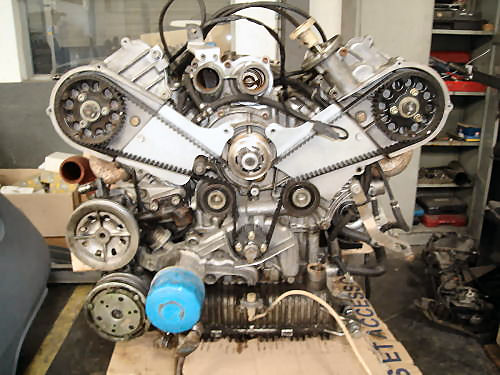 So far, nothing strange except for the air conditioning compressor unit, which is leaking green fluid and will need a standard exchange unit. 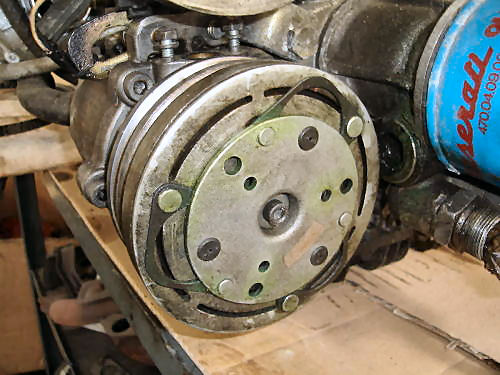 Good, next stage !!! One carries on with the removal of the turbochargers, and there ... It starts ... Someone is tempted to remove the exhaust manifolds before my brother arrives, but in vain!!!! The result, a massacred nut and close to indestructible "Nylstop" nuts on an exhaust manifold. CHEERS FOR THAT !!! For the sake beginners, a lock nut is fitted with a nylon ring to prevent it coming loose. But do you know what happens to nylon when it comes in contact with a red-hot exhaust manifold????? I'll let to you think on it for a minute ... In the meantime Cyril loosens it with a few blows from a hammer and cold chisel, and the famous nut is massacred. 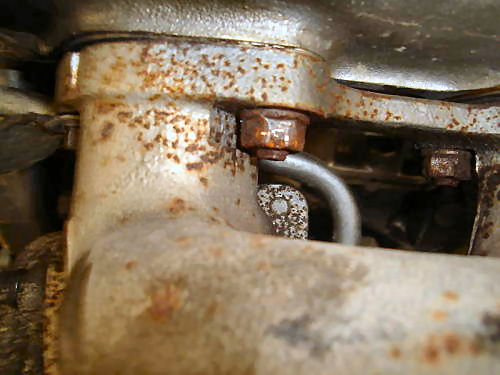 And three blows with the cold chisel later ... 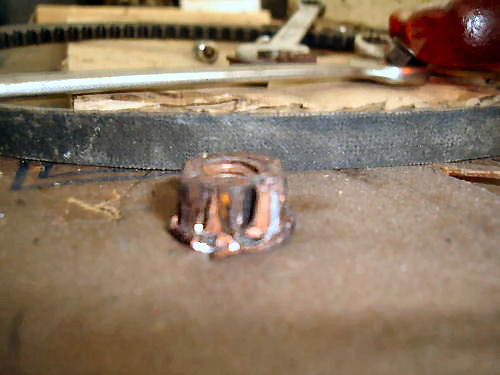 So ??? Nylon ??? That does what ??? It melts for sure, the nut loosens and reveals this ! 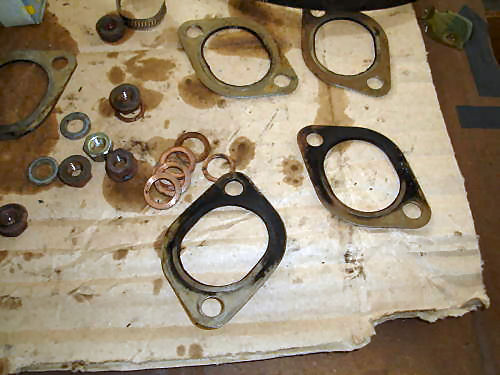 Evidence of a leakage on the exhaust manifold gasket, which indicate an inevitable loss of exhaust gas pressure to the turbochargers. Perhaps, now we have a wee explanation for the lack of power that this car was victim to ... Perhaps ... 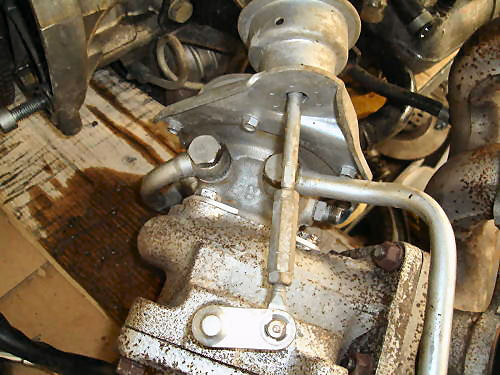 Then Bah! Stripping the turbochargers with an aim of checking the pipes, and sending all oxidised or corroded minor metal components to have their surfaces re-plated by a "Zinc Rack and Barrel Plating" process. 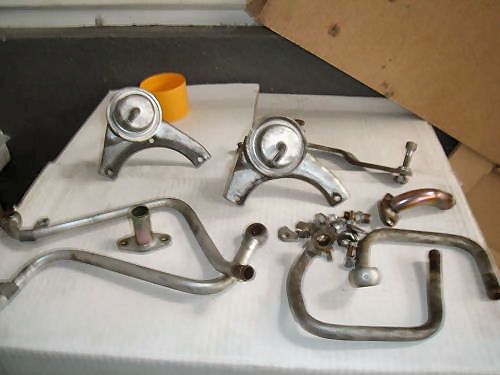 Yet more surprises, nothing less than a piece of sand paper wedged inside one of the cooling pipes to the left-hand side turbocharger ! 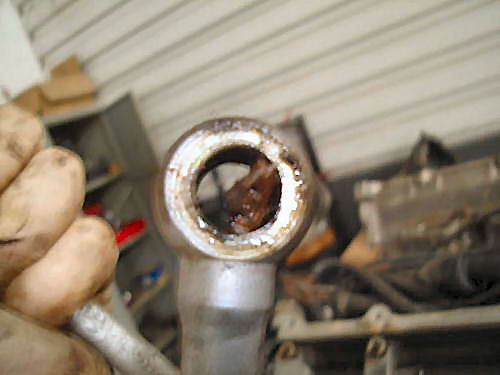 It's worrying......now I'm seriously thinking of removing the cylinder heads ... Then after removing the intake manifold, I find joints that haven't been checked for a good while. 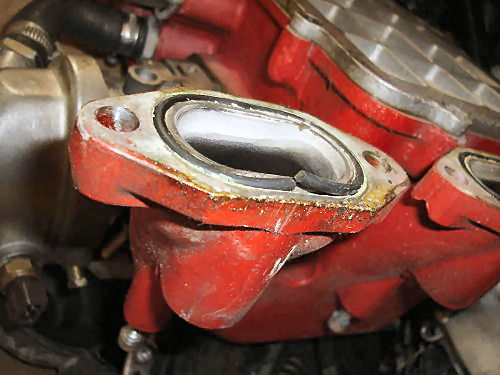 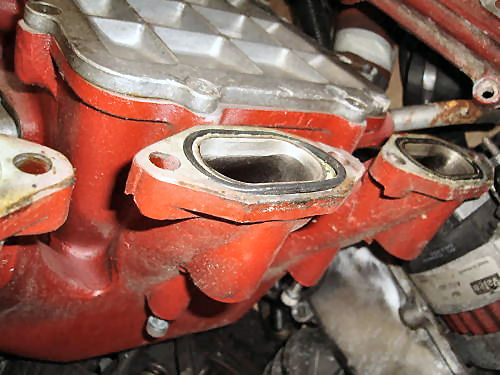 There too one could expect a loss of boost pressure leading to a further considerable loss of power ... And who's to say that all these air leaks weren't a contributing factor to the warm start problems ??? Did you get all that ??? 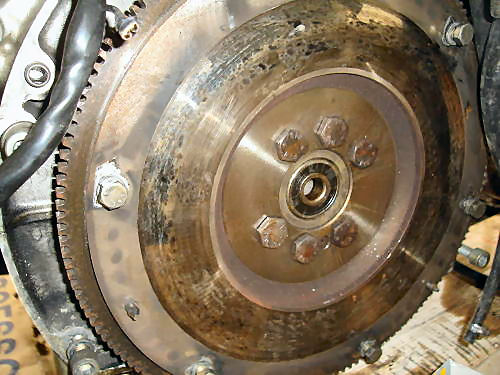 One look at the flywheel, and she... is pretty dirty. Signs of significant heat marks here and there decorate the surface of this beast. Anyway, that's enough for this evening, now to bed until tomorrow. So today we continue to strip the engine, but I don't want to remove the cylinder heads before adjusting the tappets, and checking the ignition timing using my own test gauges. Removing the thermostat housing doesn't present any more problems or surprises, apart from the tightness of some bolts, but nothing serious ... 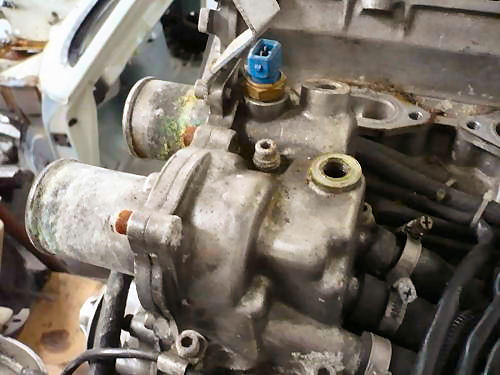 All the mounting bolts will be acid-pickled and re-plated ... The alternator pulley also needs to be re-plated to come up like new again. 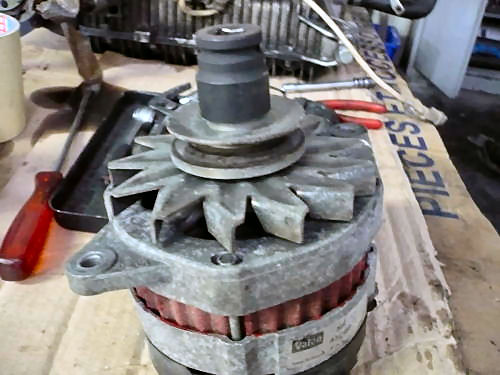 We can also use the time to check the terminals and voltage regulator which are in very good condition (finally something good). 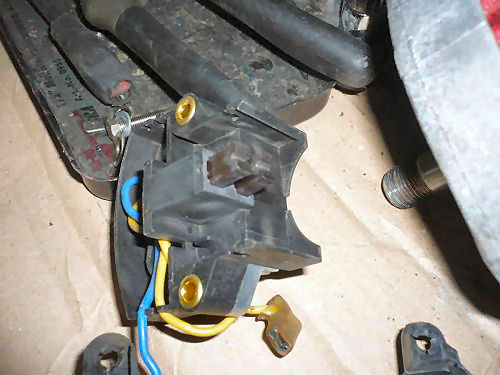 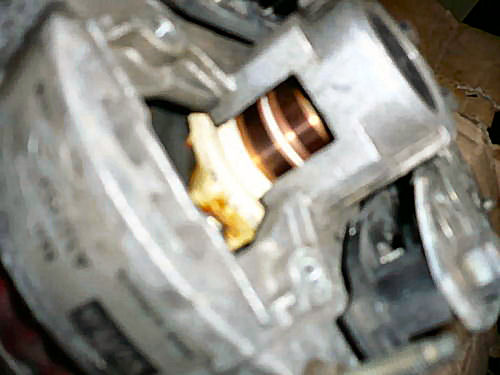 Not a great photograph but the bushes are also not worn ... Then we disassemble the two fuel injection rails.  All goes well, and so far no unpleasant surprises! 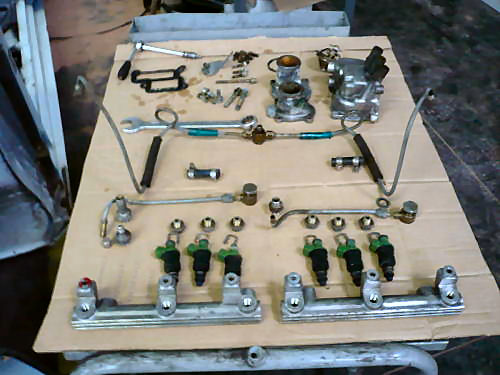 Here, this little world will start with the treatment of the surfaces and injectors by ultrasound cleaning. GO!!!!!!! Let's talk a little about that lack of power ... ultrasound 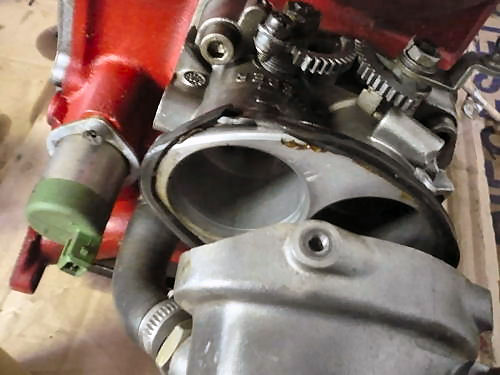 ultrasound A centimetre of gasket is missing around the throttle chamber !!! How do you expect it to breathe correctly ? With all that, we can disconnect the wastegates in peace of mind, without fear of over-speeding !!! The wastegates precisely ... let's talk about them ! The checks reveal nothing out of the ordinary, apart from the fact that still functioning correctly when no longer attached to the turbochargers. 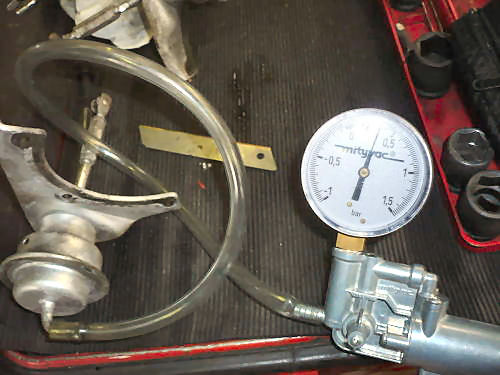 It'll be necessary to check the amount of travel in the wastegate actuators of each turbocharger by using an accurate boost gauge, and adjust accordingly to the manufacturer's specification. It is especially important that both turbocharger wastegates open at the same time ... Back from having their surfaces treated, the parts already look better than last week and that does not displease us..... 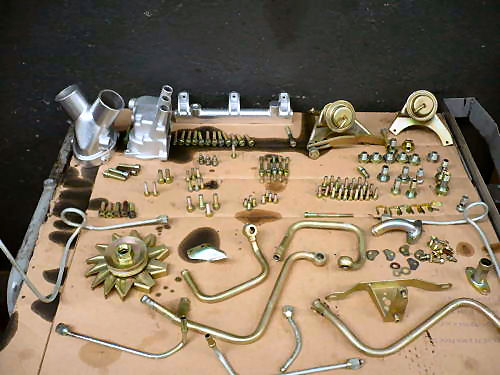 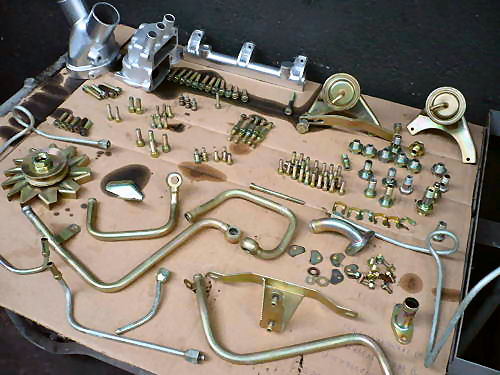 That's starting to look like a real engine !!! After a short break, we start again !!! 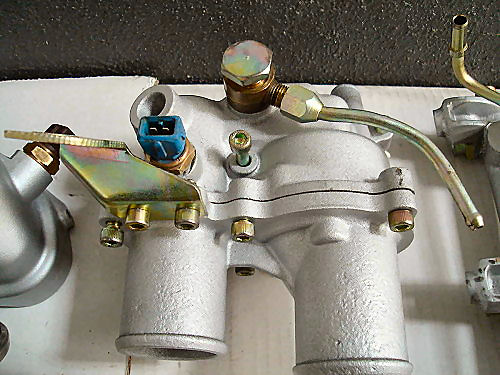 That was quick for absolutely nothing ??? Following on ... 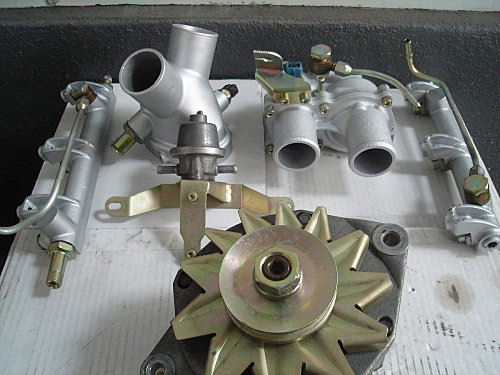 And since I have a little time left, I shall take advantage by fixing the air conditioning compressor, one never knows ... 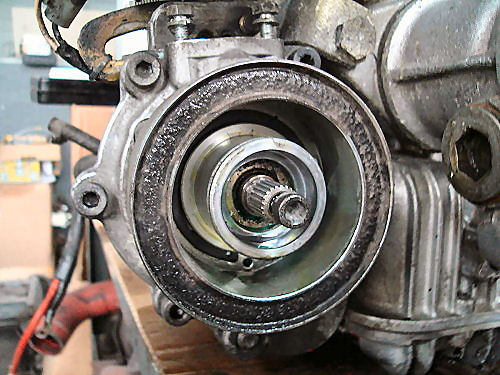 Too easy !!! It's leaking from the central shaft ! What will we find behind that ? 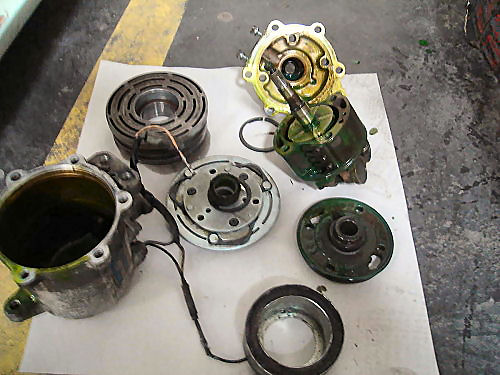 There are traces of green fluid everywhere. The shaft needs replacing ... I have to find out whether it's still available. 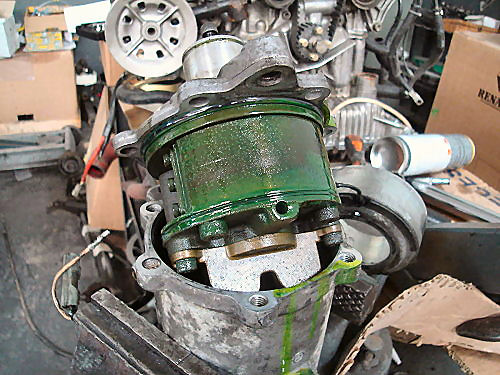 After a few phone calls to the suppliers: individual components are no longer available. I must replace the compressor ... And only from the manufacturer !!! I'm expecting the worst ... THE FRONT BOX SECTION And so, the job looks daunting ... but as you can see below, the box sections are well attached ... 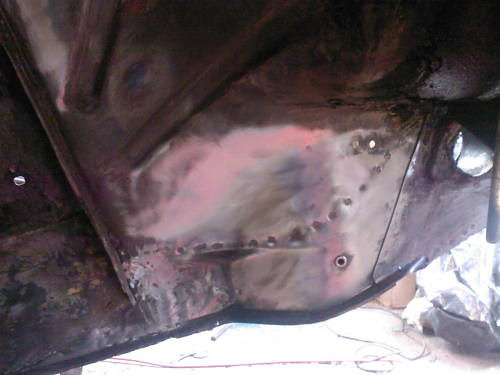 But apparently, the right-hand side box section is totally untouched ... The proof... A scouring with the wire brush reveals an "immaculate" sheet metal, without any trace of repair. 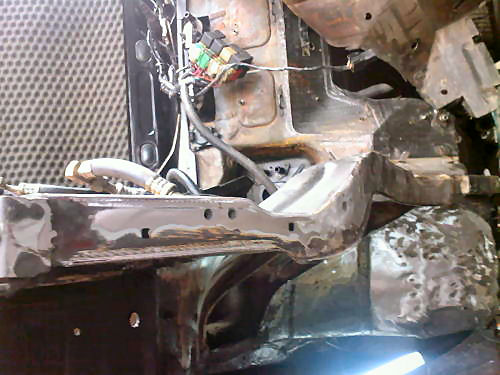 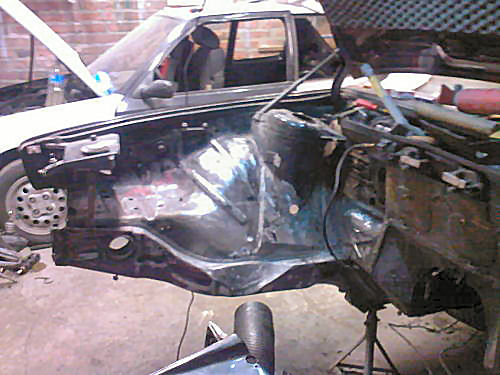 That's not the case with the left-hand side box section, on the contrary, it is well rotten. Indeed, as seen above, it has large traces of welding. We start with a good bit of grinding. Ah!! I know it's painful to grind a front box section, but it's for her benefit, so put your mind at rest. 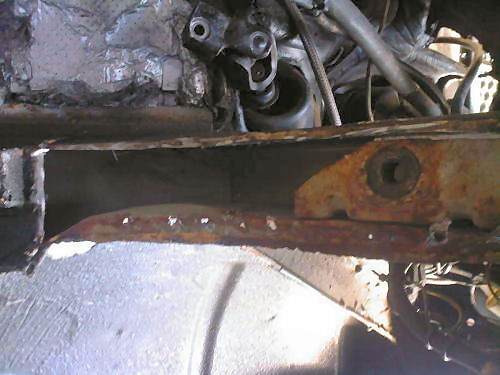 After an hour of work, you can see the reinforcement of the front box section without any traces of repair. The corrosion was the result of a poor repair, especially to the sheet metal of the box section of the inner front wing panel that was rotting gently under a thick, a very thick layer of "body filler", euhh!! Sorry underseal! This was the previous bodyshop's miserable hiding place!! THE WORK GOES ON! You can view the original French version by Cyril Kothe at restoghibli.over-blog.fr. |
||
|
|
|
 |
||
|
To enter Enrico's Maserati Pages CLICK HERE! Copyright: Cyril Kothe - © 2009. All rights reserved. |